How to Docker with .NET: Getting Started
The series kicks off with an introduction on Docker, core concepts, and accessing a base ASP.NET Core image.
As a developer, do you ever think about all the time you spend … not developing? Among the work we do to get things working—I like to call it meta-work—infrastructure is the most frustrating and the biggest headache. It takes so much of our time and impacts our ability to deliver value quickly.
Thanks to software containerization—and, specifically, Docker—we can improve our workflow significantly. We can think of containers as isolated environments that allow us to run our software quickly. These containers allow us to package running images that include all our code and dependencies on any environment.
To be clear, I am tremendously late to this party. (Like, dinner is over and people are starting to ask “where’s Dave?” as if I got in an accident on the way there.) While I’ve always known about Docker from a high level—the value it brings, how to get an image, and so on—my new job responsibilities have forced me to understand it on a tremendously deeper level.
While I’ve seen a lot of great posts on this topic (such as Steve Gordon’s wonderful series from 2017), I wanted to write about all I’m learning—and hopefully it can help you, too.
I’ll be walking through Docker containers in three posts:
- This post: Getting started (core concepts, run a pre-built image)
- Next post: Diving deep (create image from existing app, considerations)
- Last post: Publishing to Azure Kubernetes Service (AKS)
Armed with this knowledge, I’ll then be writing about container orchestration using Kubernetes.
This post covers the following topics.
- Ensure Docker and Git is installed
- How Docker works
- What is a host?
- Base images and parent images
- Using a Dockerfile
- A note on ports
- Fetch, build, and run a prebuilt Docker image
- Serve image over HTTPS
- Windows
- MacOS/Linux
- Image cleanup
- Wrap up
Ensure Docker and Git is installed
Before starting this post, make sure you have the following installed:
Confirm your Docker install by executing docker -v in your terminal.
How Docker works
When we talk about packaging our software, we’re not just talking about code (if only it was that simple). There’s our operating system, the code itself, packages, libraries, binaries, and more. For example, you might be developing a .NET Core app on Linux with a database, while using a reverse proxy configuration. That sentence alone should be rationale enough for standardized environments.
When we’re running an image, that’s our container. If an image is our blueprint, the container is an instance of it running in memory. These images are immutable: you can’t change them once they’re built. This guarantees isolation, consistency, and performance.
What is a host?
A host is the OS where Docker is run. If you’re running Linux containers like most of the world, Docker shares the host kernel if the binary can access the kernel directly—preventing a need for a container OS.
Windows containers do need a container OS that is part of the packaged image, however, for file system access and memory management. Windows containers come in handy (and are essential) if you’re running things dependent on Windows APIs, like legacy .NET Framework apps. If you don’t have those needs, Linux containers are almost always the way to go.
Base images and parent images
To Docker, a base image utilizes their minimal image, called scratch. It’s an empty container image. It’s the equivalent of a piece of white paper: you’ve got something to draw with, but you’ll need to do the sketching.
Typically, you’ll instead build from a parent image, an image you can use as a starting point for your images—in developer language, a base class. Instead of using a base image to install an OS and a runtime, you can use a parent image instead.
Much like the IaaS vs. PaaS arguments in the cloud space, it comes down to control and how dirty you want your hands to get.
Using a Dockerfile
Docker uses a Dockerfile, a file that contains instructions on how to build an image. In a Dockerfile you’ll specify the image to use, commands to run, artifacts (your app and its dependencies), exposed ports, and what to run when the container starts running.
We’ll get into much more detail in the next post, but here’s a sample Dockerfile:
# Step 1: Specify your base image
FROM mcr.microsoft.com/dotnet/core/sdk:3.1

# Step 2: Copy project file to the /src container folder
WORKDIR /src
COPY ["MyCoolApp/MyCoolApp.csproj", "MyCoolApp/"]

# Step 3: Run a restore to download dependencies
RUN dotnet restore "MyCoolApp/MyCoolApp.csproj"

# Step 4: Copy app code to the container
COPY . .
WORKDIR "/src/MyCoolApp"

# Step 5: Build the app in Release mode
RUN dotnet build "MyCoolApp.csproj" -c Release -o /app

# Step 6: Publish the application
RUN dotnet publish "MyCoolApp.csproj" -c Release -o /app

# Step 7: Expose port 80 in the container
EXPOSE 80

# Step 8: Move the /app folder and run the compiled app
WORKDIR /app
ENTRYPOINT ["dotnet", "MyCoolApp.dll"]
With this Dockerfile, you’ll then be able to run something like docker build -t mycoolapp . to build your image.
A note on ports
Pay special attention to Step 7, where we open a port on the Docker container. You might think a common port, 80, should be open by default. It is not. By default, Docker doesn’t allow inbound requests to your container. You will need to explicitly tell Docker.
If you fetch and run a pre-built image from Docker Hub using docker run and get errors, you need to run it with the -p flag. A common use is -p 8000:80, which maps port 80 in your container to port 8000 on your local machine.
Armed with this knowledge, we’re ready to get our feet wet by running a pre-built ASP.NET Core image. (In the next post, we’ll Docker-ize an app we wrote.)
Fetch, build, and run a prebuilt Docker image
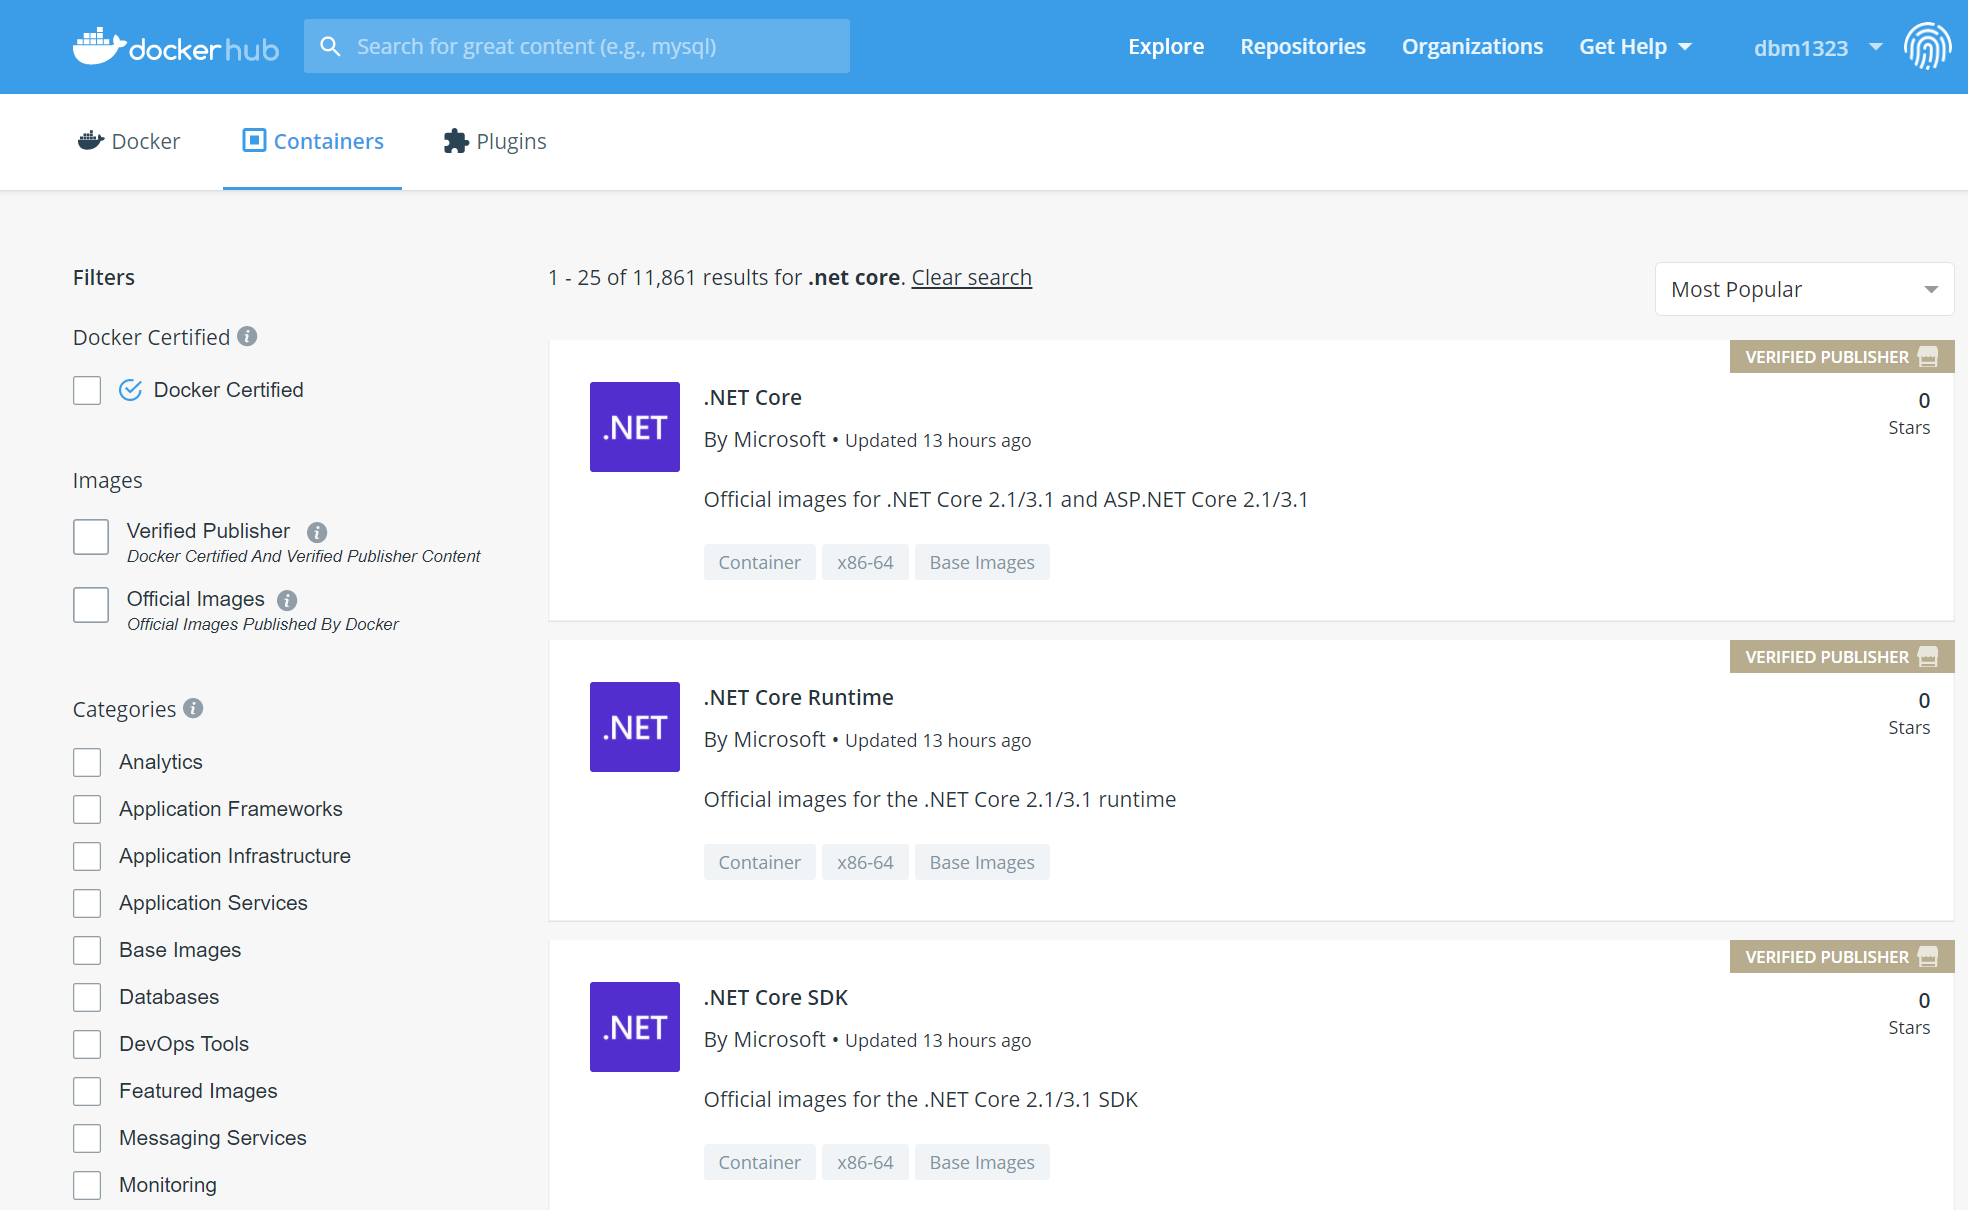
To access existing Docker images, they must be hosted in a container registry. The most common public registry is Docker Hub. When I go to the Docker Hub and search for .net core, you’ll see quite a few repositories hosted by Microsoft.
We’re going to fetch an existing ASP.NET Core sample app. Head on over to the samples repo to look at the instructions.
The first thing you see is a sample command to docker pull the image. That’ll work just fine, but when we run the image, Docker will pull it for us automatically if it doesn’t exist.
To run the sample app based on a pre-built image, execute the following from your terminal:
docker run -p 8000:80 --name my_sample mcr.microsoft.com/dotnet/core/samples:aspnetapp
This command both fetches and runs our container, which is stored at mcr.microsoft.com/dotnet/core/samples, has a tag of aspnetapp (tags are text labels that assist with versioning), and uses the -p flag to map port 80 on the Docker host to port 8000 on your local machine.
If you received an error because of a port conflict, you’ll need to select a port that you aren’t currently using.
Your output should be similar to the following:
Unable to find image 'mcr.microsoft.com/dotnet/core/samples:aspnetapp' locally
aspnetapp: Pulling from dotnet/core/samples
fa2fa425bc39: Already exists
9fb46f3edd09: Pull complete
39a135016f79: Pull complete
4f3a5a9bf323: Pull complete
67b18db7ec89: Pull complete
53bfb409e62d: Pull complete
e223eece4c87: Pull complete
85af4a87bdd5: Pull complete
d445ffa5a90f: Pull complete
1fd0bebc24e8: Pull complete
Digest: sha256:d7e0b7f7380d07d2ab32f4082a194e4bc8ac4374cd8bce9c7495f980cf59804f
Status: Downloaded newer image for mcr.microsoft.com/dotnet/core/samples:aspnetapp
warn: Microsoft.AspNetCore.DataProtection.Repositories.FileSystemXmlRepository[60]
      Storing keys in a directory 'C:\Users\ContainerUser\AppData\Local\ASP.NET\DataProtection-Keys' that may not be persisted outside of the container. Protected data will be unavailable when container is destroyed.
info: Microsoft.Hosting.Lifetime[0]
      Now listening on: http://[::]:80
info: Microsoft.Hosting.Lifetime[0]
      Application started. Press Ctrl+C to shut down.
info: Microsoft.Hosting.Lifetime[0]
      Hosting environment: Production
info: Microsoft.Hosting.Lifetime[0]
      Content root path: C:\app
To take a look at the state of your running images, run the docker ps command. (Alternatively, you can run docker ps -a to see the status of all running and stopped containers—check out the docs for all your options.)
The terminal responds with a bunch of great information (too much for a readable screenshot) with your container ID, image registry location, command used to run it, when it was created, the status, and the ports its using.
Now, launch your favorite browser and enter http://localhost:8000 (or whatever port you specified):
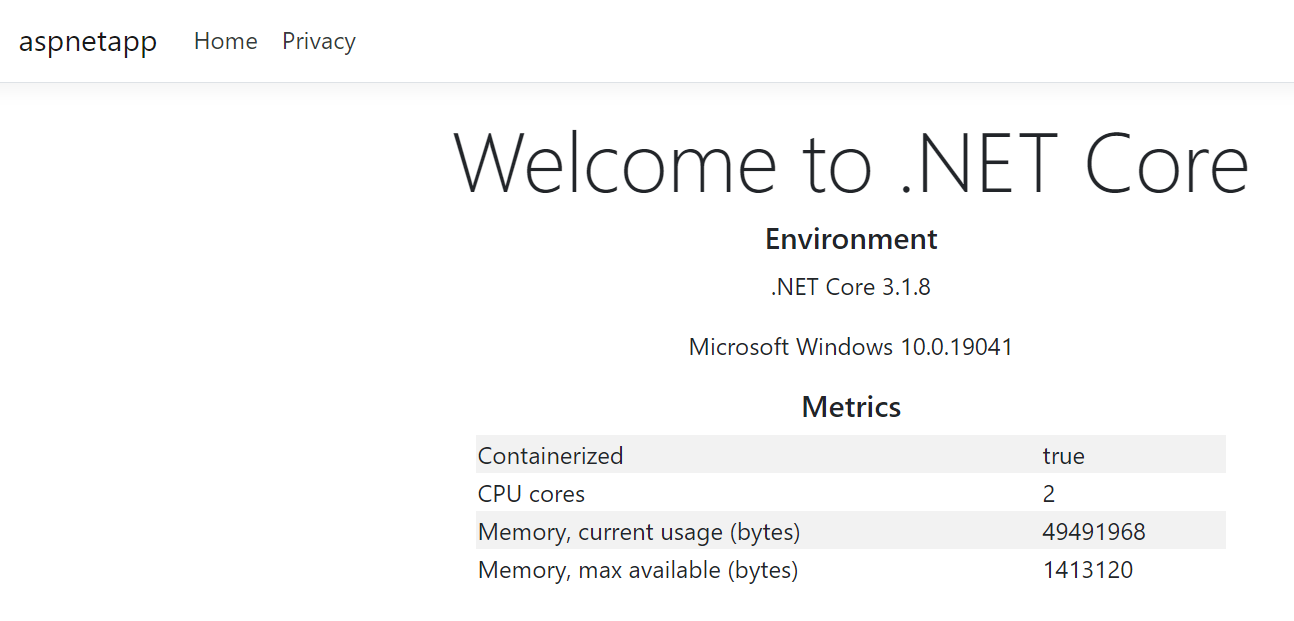
See how easy that was? Now that is the value of containerization—going out, fetching an image, and not having to worry about all the ridiculous infrastructure headaches.
When we run docker image list we can see a listing of our installed images, and our new one is right at the top:
REPOSITORY                       TAG      IMAGE ID            CREATED             SIZE
mcr.microsoft.com/dotnet/aspnet  5.0      c946cb101055        3 weeks ago         352MB
You’ll notice that the app is served over HTTP by default (and good catch, by the way).
Serve image over HTTPS
When we’re playing around locally, HTTP is fine. But if we want to mimic real-world scenarios—and with containerization, the whole point is predictable environments!—we should get in the habit of running our containers over HTTPS. The instructions are slightly different between Windows and macOS/Linux (and with the assumption you are using a pre-built Linux container).
In either platform, the behavior is the same: self-signed development certificates are provisioned for your container over localhost. Then, you’ll be able to access your app from:
- http://localhost:8000
- https://localhost:8001
Windows
From your Windows terminal, execute the following commands (and replace mypassword with something more memorable):
dotnet dev-certs https -ep %USERPROFILE%\.aspnet\https\aspnetapp.pfx -p mypassword
dotnet dev-certs https --trust
Then, execute docker run doing the following (changing mypassword accordingly):
docker run --rm -it -p 8000:80 -p 8001:443 -e ASPNETCORE_URLS="https://+;http://+" -e ASPNETCORE_HTTPS_PORT=8001 -e ASPNETCORE_Kestrel__Certificates__Default__Password="mypassword" -e ASPNETCORE_Kestrel__Certificates__Default__Path=/https/aspnetapp.pfx -v %USERPROFILE%\.aspnet\https:/https/ mcr.microsoft.com/dotnet/core/samples:aspnetapp
MacOS/Linux
From your Mac/Linux terminal, execute the following commands (and replace mypassword with something more memorable):
dotnet dev-certs https -ep ${HOME}/.aspnet/https/aspnetapp.pfx -p mypassword
dotnet dev-certs https --trust
Then, execute the following (changing mypassword accordingly):
docker run --rm -it -p 8000:80 -p 8001:443 -e ASPNETCORE_URLS="https://+;http://+" -e ASPNETCORE_HTTPS_PORT=8001 -e ASPNETCORE_Kestrel__Certificates__Default__Password="mypassword" -e ASPNETCORE_Kestrel__Certificates__Default__Path=/https/aspnetapp.pfx -v ${HOME}/.aspnet/https:/https/ mcr.microsoft.com/dotnet/core/samples:aspnetapp
Check out the Microsoft documentation for the complete details.
Image cleanup
If you’re done playing with your image, you can get rid of it. To do so, we will stop and then remove the image (if it’s stopped, you can always skip to the last part).
Before we delete our container, we’ll stop it first. To stop our container, run the following command:
docker stop my_sample
If successful, the terminal will respond with its best “I am Groot” impression:
my_sample
You can now remove the container with the following command:
docker rm my_sample
Yes, we could have run docker container rm -f my_sample to do it all at once. I wouldn’t recommend this forceful approach, as it does not perform a graceful shutdown.
You just removed the containers you created. If you also want to delete the images they are built from, use the docker image rm command, like this (all containers using this image must be removed first):
docker image rm mcr.microsoft.com/dotnet/core/samples:aspnetapp
Wrap up
In this post, we got our feet wet with Docker. We discussed its value and core concepts such as hosts, base and parent images, and using a Dockerfile. Then, we fetched, built, and ran a pre-built ASP.NET Core container image. We served the container over HTTPs, and then discarded the container and its image.
Stay tuned for the next post as we use this knowledge to Dockerize our existing applications.