Blast Off with Blazor: Learn components and testing with a custom 404 page
In the latest post, we'll write our first component and get acclimated with bUnit.
I hope you enjoyed the introduction to our Blast Off with Blazor project. It’s time to get to work!
We’re going to write our first reusable component, and use Egil Hansen’s wonderful bUnit Blazor component testing library to confirm it renders appropriately. I strongly believe testing should never be an afterthought, and we should start testing from Day 1.
To do all this, we’ll write a custom 404 error page. This first one will be simple but will allow us to understand how basic components work.
This post contains the following content:
- Understand the App.razor file
- Our first shared component
- Test our component with the bUnit library
- Wrap up
Understand the App.razor file
Obviously, we know that if the user navigates to a page that doesn’t exist, like /somepage, that we’ll want to customize the error page. But where does Blazor figure out what pages are valid?
The answer lies in the App.razor file, which sits at the root of our Blazor Web Assembly project.
You’ll notice the default App.razor file looks something like this:
<Router AppAssembly="@typeof(Startup).Assembly">
    <Found Context="routeData">
        <RouteView RouteData="@routeData" DefaultLayout="@typeof(MainLayout)" />
    </Found>
    <NotFound>
        <p>Sorry, there's nothing at this address.</p>
    </NotFound>
</Router>
Here, you’ll see Blazor’s component model in action—even Blazor’s routing mechanism uses components! We see a Router component, a Found component, and a NotFound component. The Router and Found components also take parameters. We’ll dig into component parameters in a future post.
Last time, we learned that you pass an @page directive at the top of your component. For example, our Index.razor component will look like this:
@page "/"
This is a route template. When you compile this component, the generated class provides a RouteAttribute with this route template. Then, at runtime, the RouteView component receives this routeData from the Router component, then renders the component with its layout. If you don’t want to specify a layout for each component—pro tip: you probably don’t—you’ll pass a default one. By default, it’ll pass Shared/MainLayout.razor.
For our purposes, we see that the NotFound component decides what to render when a component can’t be found. It passes our default layout—which we want to keep, to preserve our header—and a message that says Sorry, there's nothing at this address. How boring. Let’s make things a little more exciting.
For more information on how routing works in Blazor, read the Microsoft Docs article.
Our first shared component
Let’s create our first shared component, called NotFoundPage.razor. Create that file in the Shared directory of our project. The Shared directory is a good place for components we’ll use throughout our app. (In Visual Studio 2019, you can right-click the Shared directory and select Add > Razor Component.)
As we’ve said, a component can be really anything—a page, a part of a page, a button, form, whatever—this will be some static HTML, with a button a user can click to go to our home page.
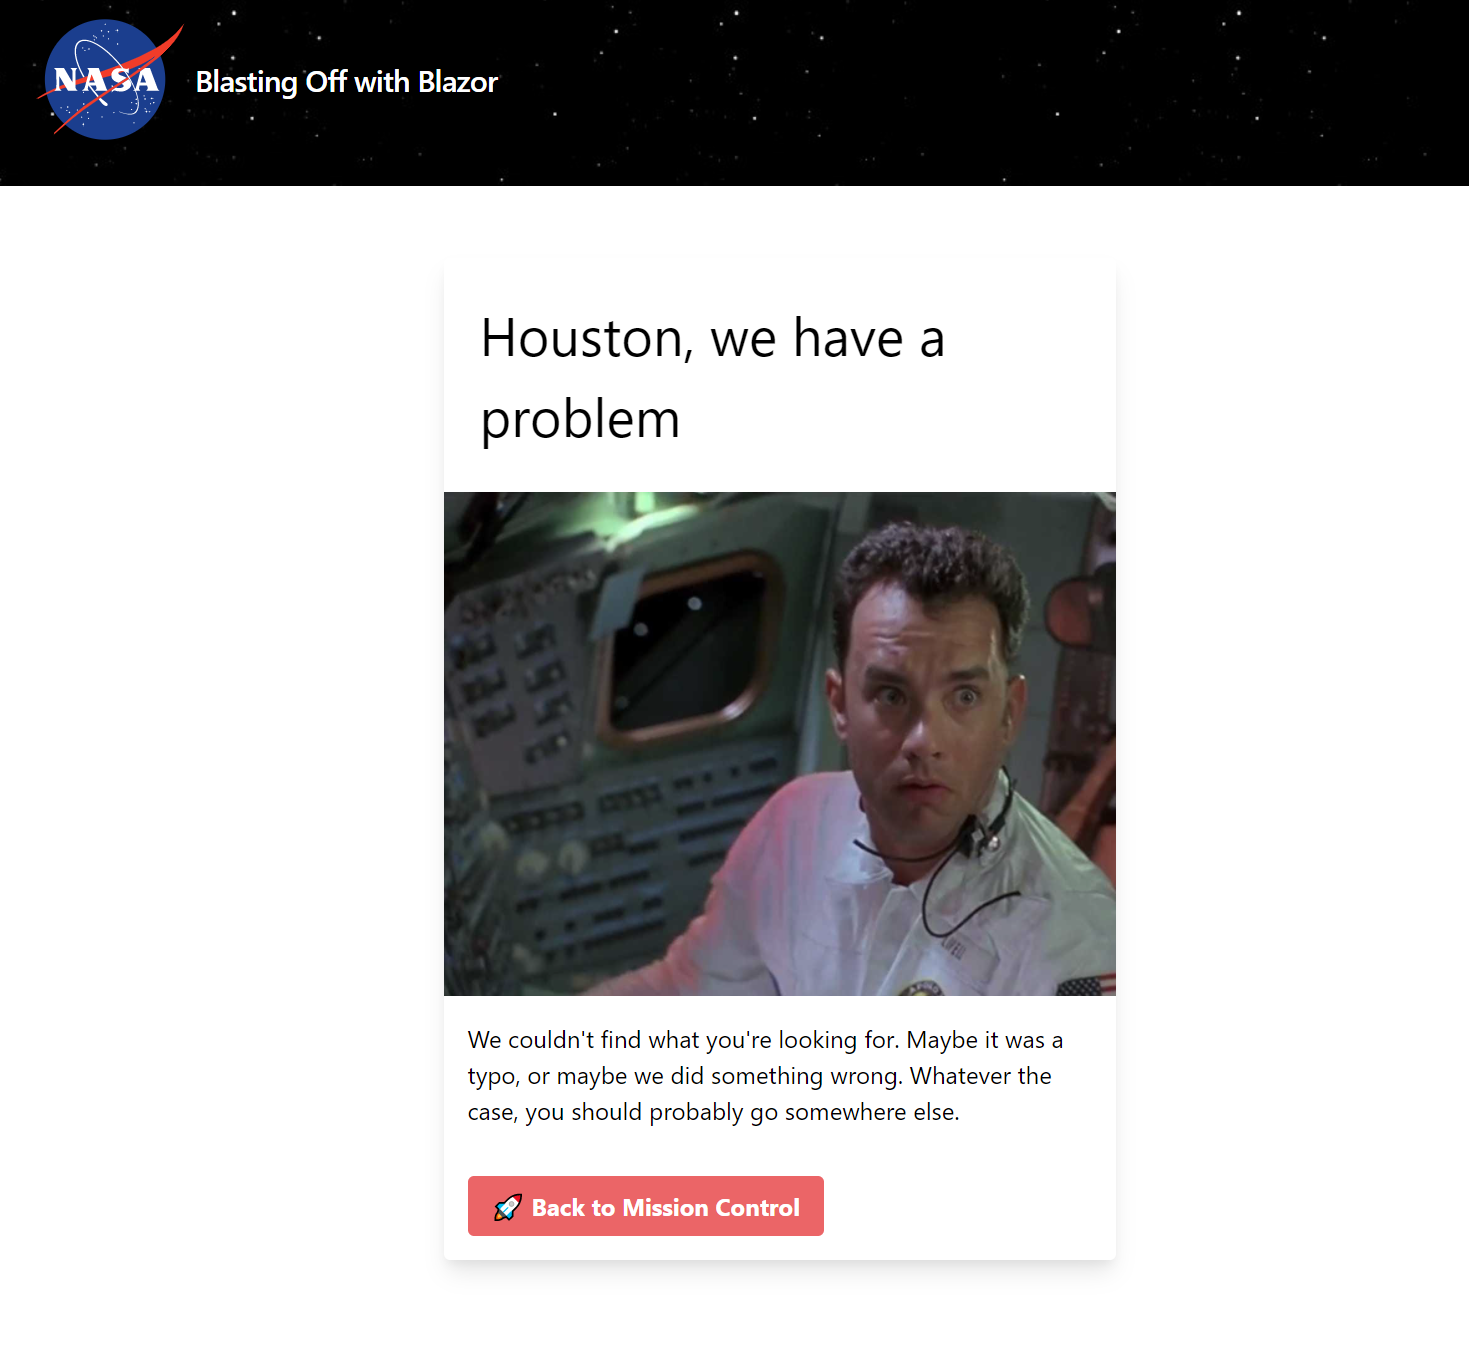
The following markup displays a “Houston, we have a problem” message with a funny picture and a message. If you don’t understand the CSS classes, that’s OK—that’s me tweaking Tailwind CSS.
<div class="flex justify-center">
    <div class="max-w-md rounded overflow-hidden shadow-lg m-12">
        <h1 class="text-4xl m-6">Houston, we have a problem</h1>
        <img class="w-full" src="images/we-have-problem.jpg" />

        <p class="m-4">
            We couldn't find what you're looking for. Maybe it was a typo,
            or maybe we did something wrong. Whatever the case, you should probably go somewhere else.
        </p>
    </div>
</div>
Now, we can add the button that takes a user back to our home page. We first need to add the logic to do so.
To work with URIs in Blazor, you’ll utilize the NavigationManager class. We can use the NavigateTo method.
In the bottom of the file, under all the markup, add a @code block with the following one-liner:
@code {
    void BackHome() => Navigator.NavigateTo("/");
}
Let’s wire up the button to call this function—our first event! In the button markup add @onclick="BackHome", like so:
<button class="text-center m-4 bg-red-500 hover:bg-red-700 text-white font-bold py-2 px-4 rounded" @onclick="BackHome">
    🚀 Back to Mission Control
</button>
There are so many events to work with—in our case, we’re just calling a function when the button is clicked. Make sure to include the @ as this is an ASP.NET Core directive, and not a JavaScript one. You’ll also notice you’ll just need to pass the method name.
With that done, head back to App.razor and add our new component to the NotFound section.
<NotFound>
    <LayoutView Layout="@typeof(MainLayout)">
        <NotFoundPage />
    </LayoutView>
</NotFound>
Now, fire up your app and enter a silly path like http://localhost:5000/kittykittylicklick and change the NotFound section to the following.
With our first component under our belt, let’s discuss testing our component.
Test our component with the bUnit library
Thanks to Egil Hansen, we can use the bUnit library to test our Blazor components. You can use bUnit to test everything about your components, no matter the complexity: you can test renders, event handlers, component state, async changes, mocking dependencies, and more.
Check out the bUnit documentation to learn more.
Set up your testing project
First, we’ll need to set up our test project. The quickest way is through the dotnet CLI, so fire up your terminal and navigate to your project root (where your solution file is).
Perform a one-time task to install the bUnit template. Right now, this is built upon the xUnit testing framework.
dotnet new --install bunit.template::1.0.0-beta-11
With that installed, create your test project. We’ll call it Test.
dotnet new bunit -o Test
Then, add the project to your solution:
dotnet sln ImageOfDay.sln add Test/Test.csproj
Finally, add a reference between the core project and your test project:
dotnet add Test/Test.csproj reference Client/Client.csproj
Head back to Visual Studio. If you refresh the app in Solution Explorer, you should see your Test project.
Write the test
We’re now ready to write our first test. Create a new class in our Test project, called NotFoundTest.cs.
In our test method, we’ll set up our tests to initialize a TestContext and render our component in question:
[Fact]
public void NotFoundComponentRendersCorrectly()
{
    using var ctx = new TestContext();
    var cut = ctx.RenderComponent<NotFoundPage>();
}
I’m not going to test for every HTML character in our component. Let’s make sure the heading and button text is rendered.
// setup code
var h1Element = cut.Find("h1").TextContent;
var buttonElement = cut.Find("button").TextContent;

h1Element.MarkupMatches("Houston, we have a problem");
buttonElement.MarkupMatches("🚀 Back to Mission Control");
We first find the text content of our h1 and button tags. By text content, I mean the text inside the tags. This allows us to only check for the text and not have to hard code the opening and closing tag and all the CSS classes.
Here’s how our complete test method looks:
[Fact]
public void NotFoundComponentRendersCorrectly()
{
    using var ctx = new TestContext();
    var cut = ctx.RenderComponent<NotFoundPage>();
    var h1Element = cut.Find("h1").TextContent;
    var buttonElement = cut.Find("button").TextContent;

    h1Element.MarkupMatches("Houston, we have a problem");
    buttonElement.MarkupMatches("🚀 Back to Mission Control");
}
The bUnit library works great with existing tooling. Using your favorite method, run your test (like Test > Run All Tests in Visual Studio), and you’ll see the results in Test Explorer.
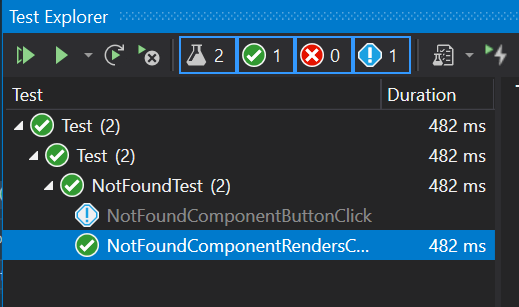
Wondering about testing the button click? We can test the button click with bUnit, but involves injecting the NavigationManager from our test class. It’s not documented yet, but there is a solution available. Injecting and mocking services is not a light topic, so I’ll reserve that for a future post.
Wrap up
In this post, we got our feet wet with our first component—a 404 page. We understood how routing works by understanding the App.razor file, created a NotFoundPage component, and introduced event handling with a button click. We then tested our new component with the bUnit Blazor component testing library.
I pushed all code for this post to the GitHub repository. See you next time!